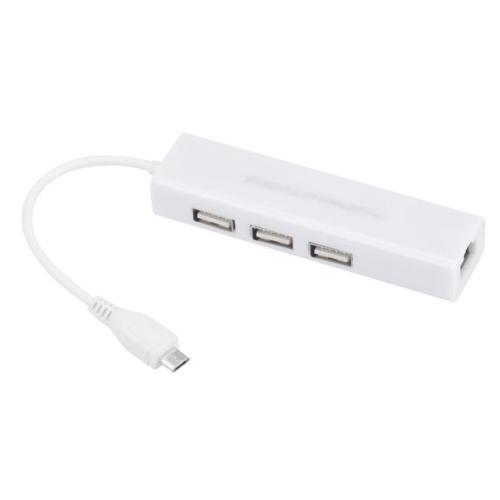
I bought a cheap Micro USB (OTG) to USB hub with built-in Ethernet from Ebay for my Nexus Player. It seemed like the perfect way to make use of the single USB port available.
Once I got it, I realised the Ethernet used a Davicom chipset and while it did have good Linux support with the dm9601 module, it wasn’t enabled in Android kernels.
As I started looking at guides for compiling kernels for Android, I found that they didn’t quite work properly for the Nexus Player.
Most Android devices are ARM based, but as the arch of the Nexus Player is x86, there’s some minor differences in some of the steps.
Here’s a quick run-down of the steps I did to simply add a new module to the Nexus Player kernel. I’m assuming that you’ve read a few of the more detailed guides or you’ve done some kernel building before.
NOTE: You’ll need to go into OEM unlock on the device. You probably don’t need to be rooted, but I was. YMMV.
First step is to find the kernel version you’re currently running. Connect to the device with adb and run this in the shell:
shell@fugu:/ $ cat /proc/version
We’ll need to get the git commit for the kernel.
In this case:
Linux version 3.10.20-g912890c
The kernel commit is the part after the ‘g’, so ‘912890c‘.
Depending on your Linux distro, you may want to pull Google’s toolchain. I’m using Arch Linux, which has GCC 5.3 and I had a build error, so instead, I just pulled the same toolchain that Google used for their production builds. If you want to match it, just look for the GCC version from the output above. E.g. ‘gcc version 4.8‘
In my case, I cloned the repository:
git clone https://android.googlesource.com/platform/prebuilts/gcc/linux-x86/x86/x86_64-linux-android-4.8
Add this to your path (substitute the $HOME/android part for your path)
export PATH="$PATH:$HOME/android/x86_64-linux-android-4.8/bin"
Add this CROSS_COMPILE variable to instruct the build to use this new toolchain. This is the prefix of the GCC binaries in the bin directory
export CROSS_COMPILE="x86_64-linux-android-"
Now we’ll clone the Kernel repository. For the Nexus Player (fugu) we’re using:
$ git clone https://android.googlesource.com/kernel/x86_64.git fugu-kernel
$ cd fugu-kernel
We’ll create our own branch to work on, based on the last commit of our current kernel
git checkout -b my-fugu-kernel 912890c
Let’s modify the kernel now
$ export ARCH=x86
$ make fugu_defconfig
$ make menuconfig
We can now make changes to our config.
Once you’re happy, we’ll build it using all our cores:
$ make -j$(nproc)
Once you’re done, you’ll have a kernel image at arch/x86_64/boot/bzImage
Now we’ll update the boot image to include our new kernel.
You’ll want to install the abootimg tool, and get a copy of the boot.img. Best to find it from the Nexus Player factory image, then tar and unzip.
We’ll update our factory boot.img and include our new kernel only:
$ abootimg -u boot.img -k (kernel path)/arch/x86_64/boot/bzImage
reading kernel from (kernel path)/arch/x86_64/boot/bzImage
Writing Boot Image boot.img
Boot the Nexus Player into fastboot mode, and we’ll test our new kernel (before flashing)
$ fastboot boot boot.img
If you’re happy with it, then don’t forget to flash it:
$ fastboot flash boot boot.img
Success!
For more information, I found this page really useful:
http://softwarebakery.com/building-the-android-kernel-on-linux